Textile Framed Art

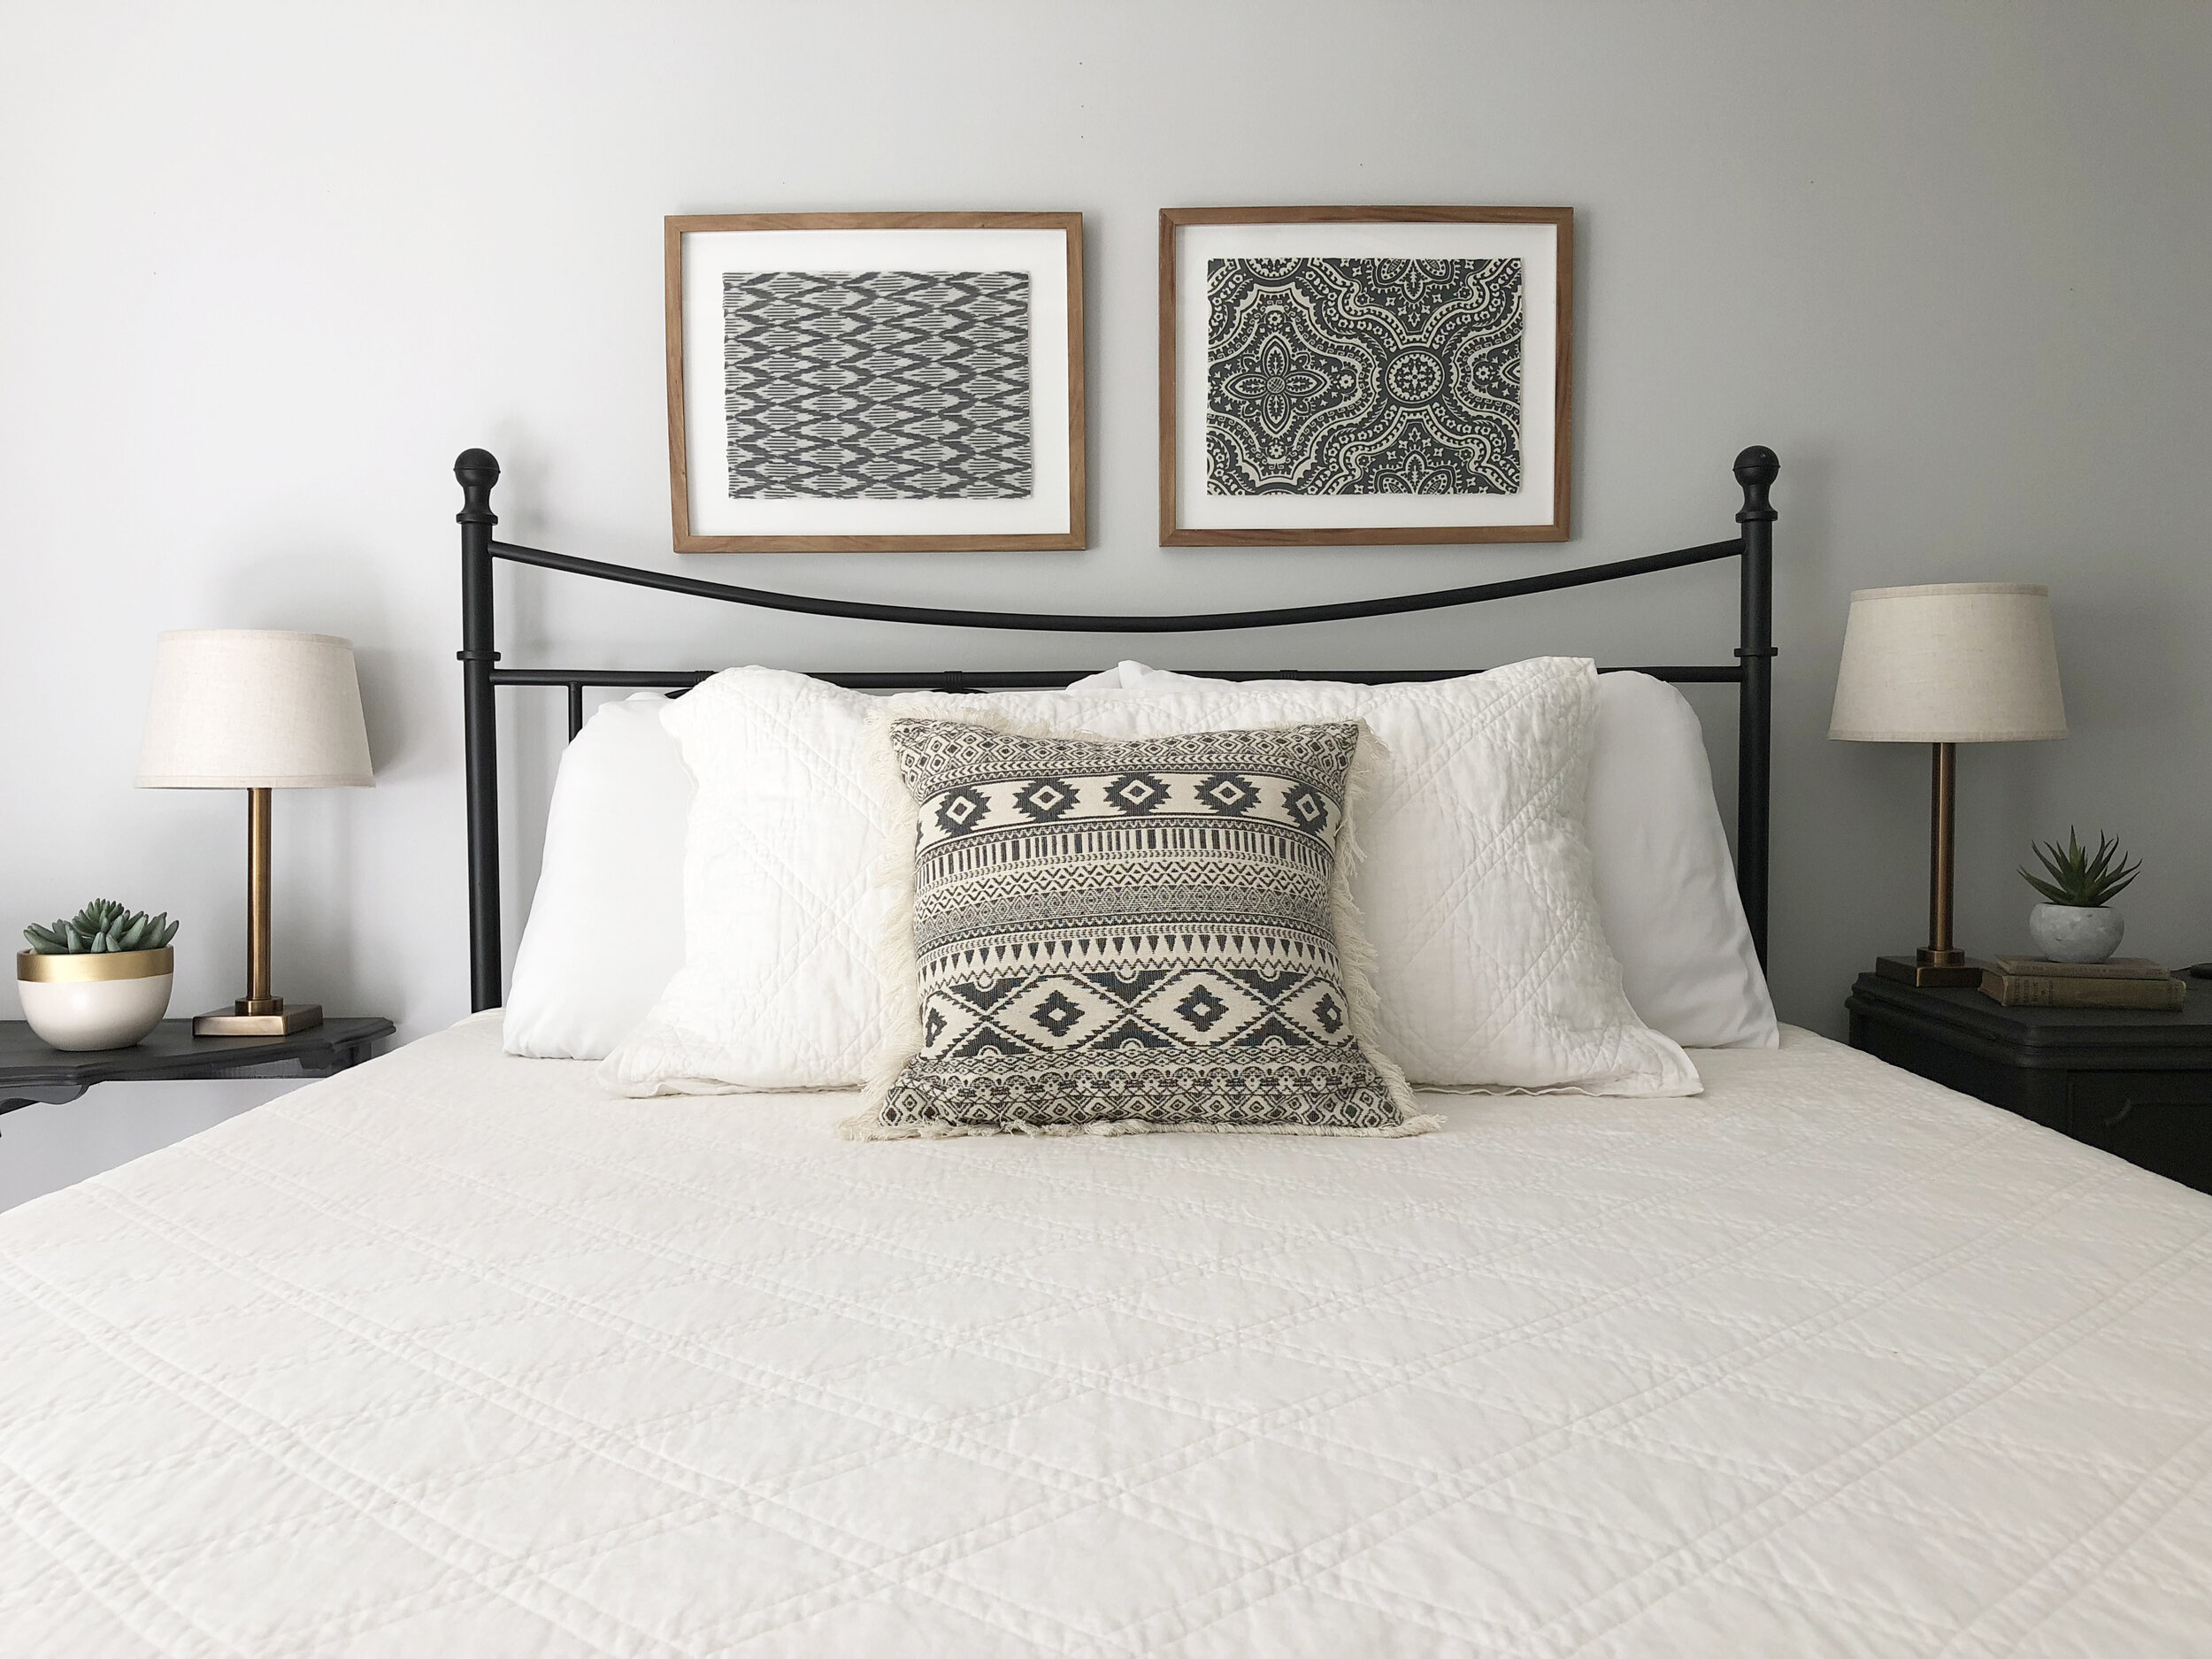
Photo of framed duck cloth fabric from Hobby Lobby above bed.

Photo of framed duck cloth fabric from Hobby Lobby above bed.

Last year I came across some framed textile prints from Pottery Barn. I thought hey, I have a couple of frames on hand…why not try a little DIY project? The next day at Hobby Lobby I found the perfect duck cloth fabric to go in the frames. Oftentimes I forget to even look at the fabric at Hobby Lobby because they have so much decor! I also want to note that they have a great selection of cushion covers. I’ve purchased at least half of dozen of them in the past year. These days I will not buy a throw pillow unless it has a zip off washable cover, because I have boys and a dog, but I digress.

When I was at World Market the other day, I saw this Circle Print Morgan Napkin and loved the print! It had a cool mid-century vibe that spoke to me, but I knew the dusty rose color wouldn’t work with my table setting. Then I remembered the textile prints I had previously done and knew that I had two brass Project 62 frames from Target that would make great textile framed art pieces. I’m a fan of coordinated color and mixed patterns, so I chose the Coral Floral Block Print napkin to pair with it.

The entire project with the fabric was less than 20 bucks. Of course if you have frames and fabric on hand, you could whip this these up for free. This would also be a great way to display an heirloom such as a handkerchief or vintage linens.

Whatever you decide to display, I hope that it brings joy to your home! xoxo

Photo of framed World Market cloth napkins above desk area.

Photo of framed World Market cloth napkins above desk area.

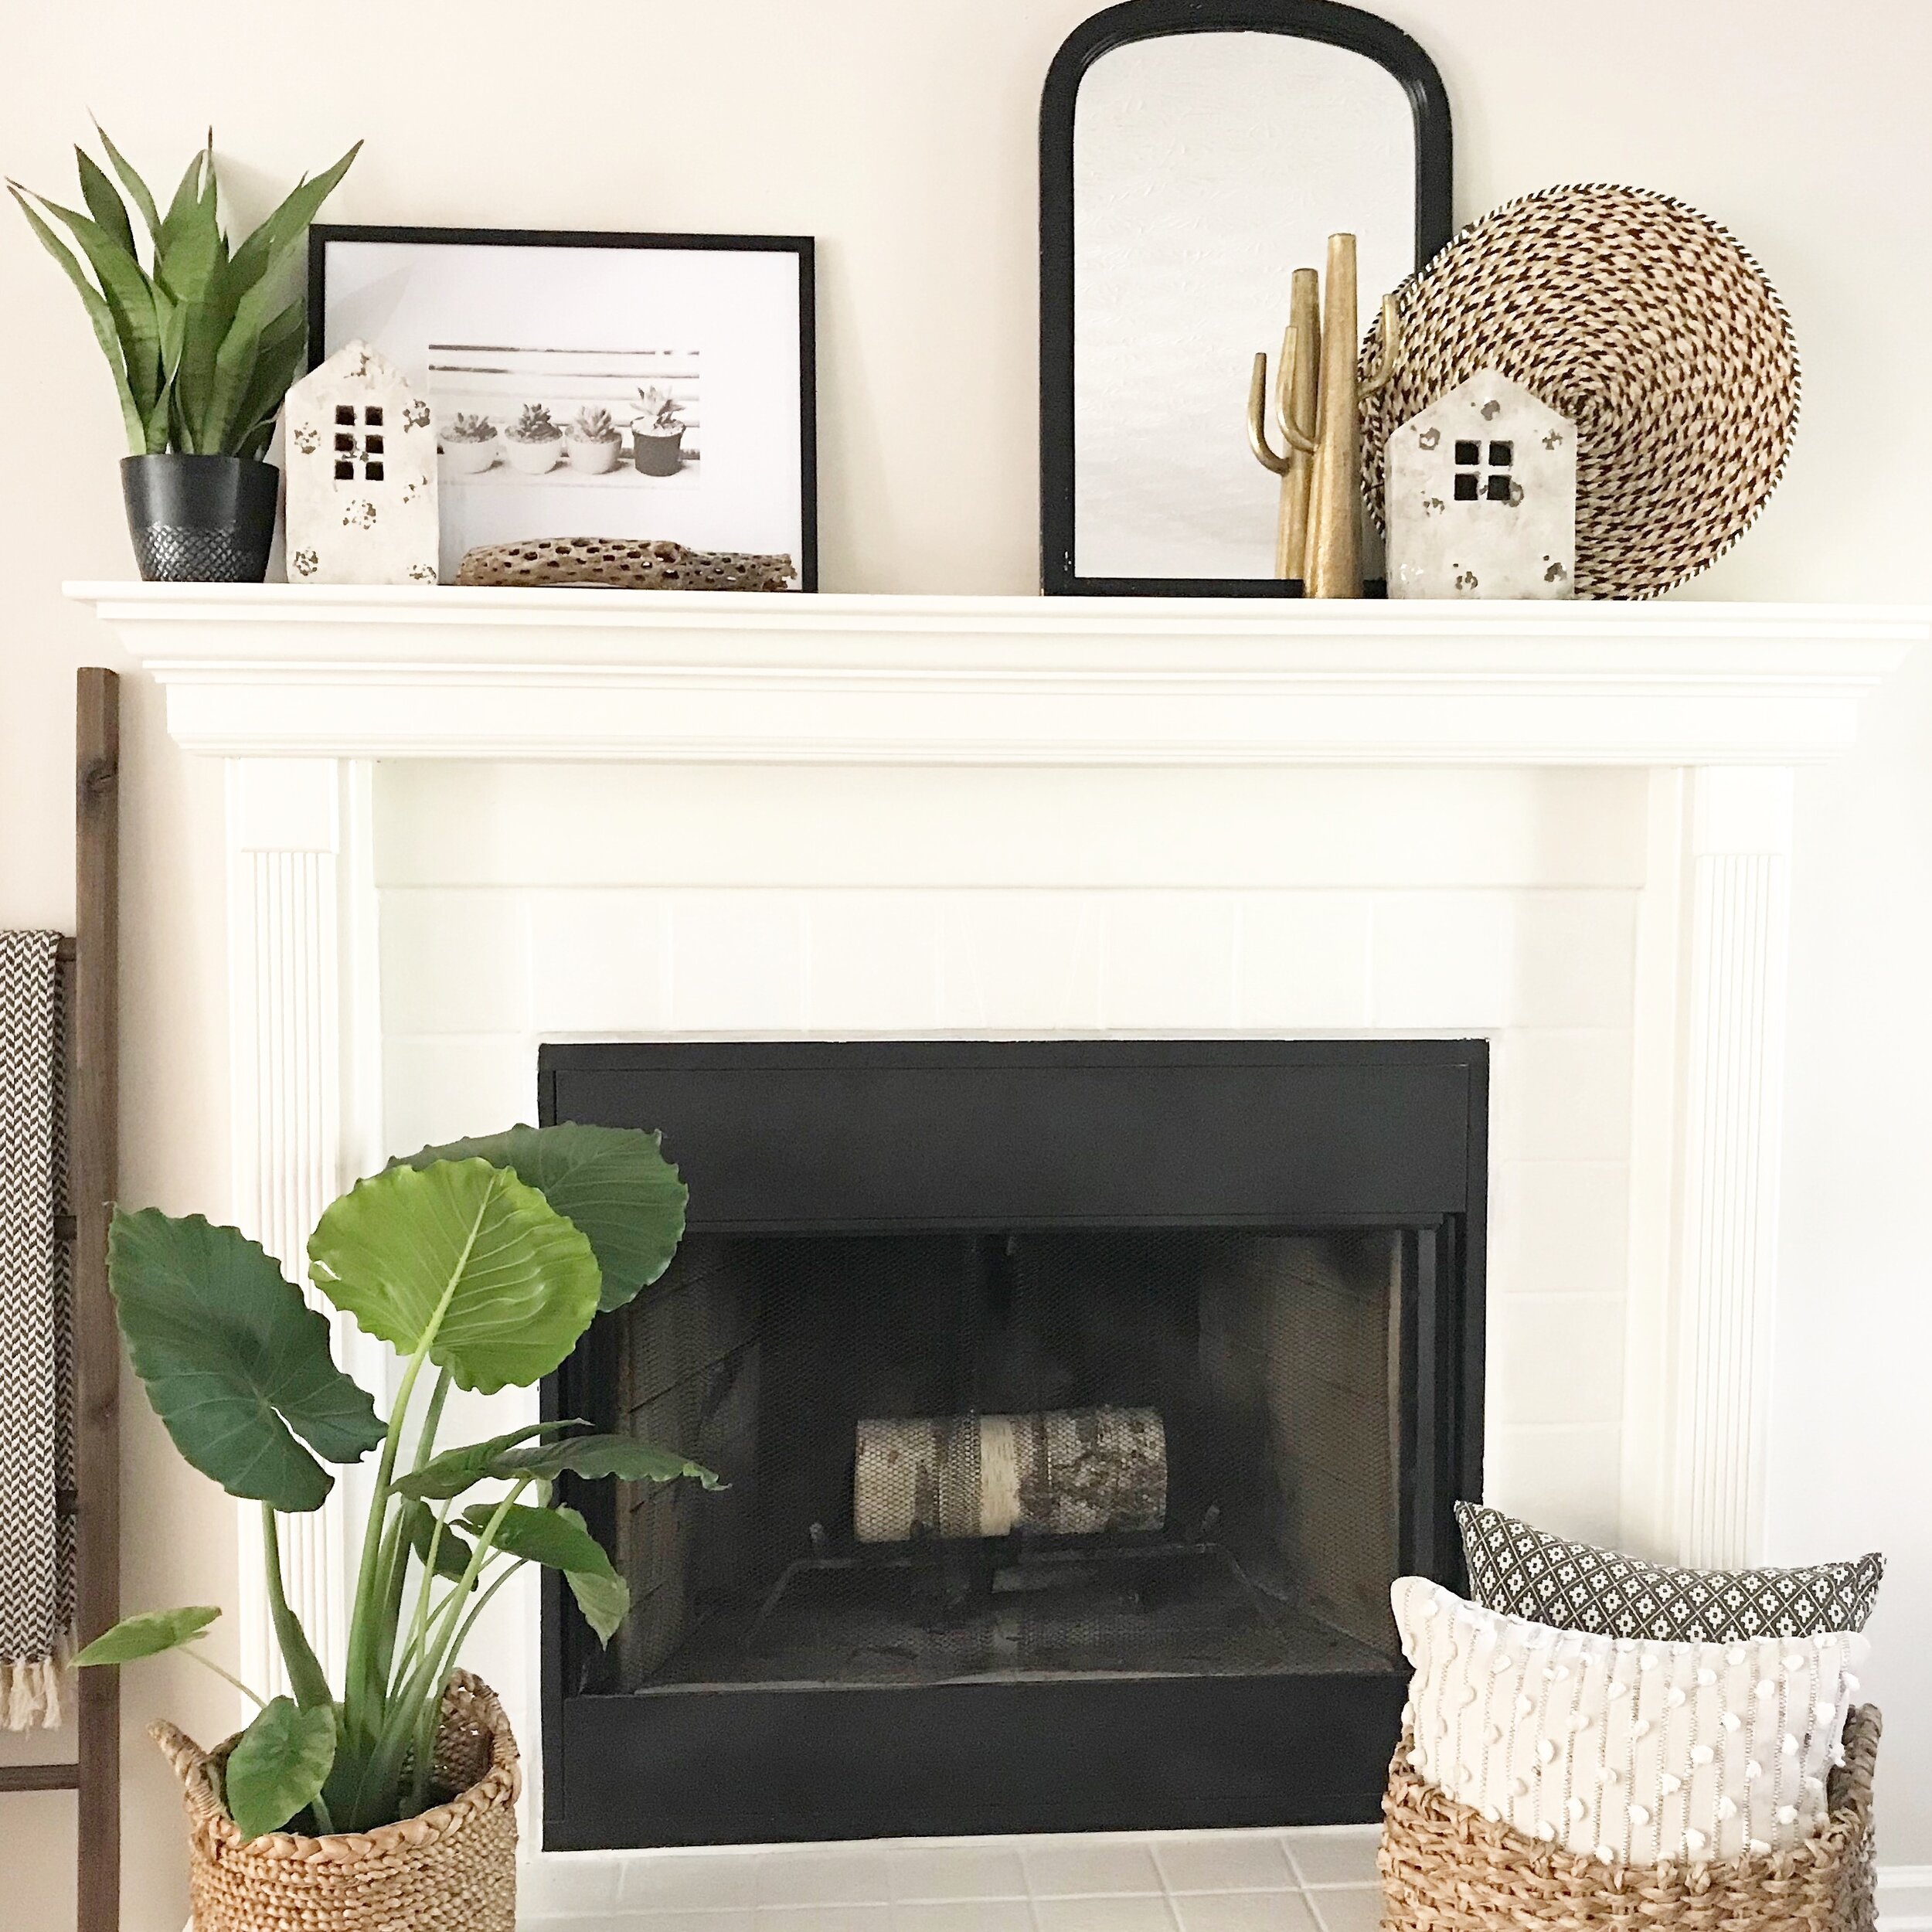
Bright White Fireplace Makeover

Fireplace.JPG

The house we live in was built in 2001. Not exactly ancient, but just old enough to look dated. When we moved in, one of the things that really bugged me was the beige tile in the bathrooms and around the fireplace. You can read my previous post on how we tackled updating the bathroom floors. The fire place is the focal point when you walk in. I knew it needed a little something extra to spruce it up.

Thank goodness for Pinterest! It's the 'been there, done that' of all things DIY related. It is also good for when you get a harebrained idea like, "I wonder if I could paint the fireplace tile"? Sure enough, you can! Thankfully, Heather from Setting for Four wrote a nice detailed blog about it. I followed her instructions to a “T” and it turned out fabulous! I even had enough white tile paint left to pass along to my neighbor so she could update her fireplace.

Friends, the moral of this short story is you don't always need a huge budget to accomplish updating your home. There are tons of small things you can do over time with a little elbow grease and some creativity. 

Click here if you want to take a look at what the fireplace looked like before.

Easy Update for an Oak Banister


Stairs.JPG


Friends, I hope you've all had a lovely week so far. My hope is that were you inspired last week by the previous post to tackle your grout, and now you have bright and shiny bathroom floors. Let's jump in and talk about another 'dirt cheap' update for your home which is the banister. Prior to the year 2000, it seems like a lot of homes were made with oak banisters, oak cabinets, oak floors.  A whole lot of orangey oak throughout the house. I realize it may not be feasible to change all of the oak, but this update will definitely break up the monotony of it throughout your home. 

When I was originally contemplating changing the banister, I thought about painting it all white, or maybe just black, but then I decided that I wanted to keep the texture of the wood. I came across this awesome how-to post from Naptime Decorator and jumped right in and purchased the Java Gel Stain from Amazon. I bought a half pint and had plenty left over. This project took about a day and a half to complete (once you factor in drying times). And the best part was the minimal amount of sanding I had to do! 

I wish I had taken a 'before' picture, so you could see the orangey oak. But like I said, I jumped right in. I was so excited to tackle this project and I still get giddy when I walk by and see the beautiful results. The General Finishes Java Gel Stain is so easy to work with. I look forward to using in on future home and furniture projects!